How to Take Amazing Summer Photos
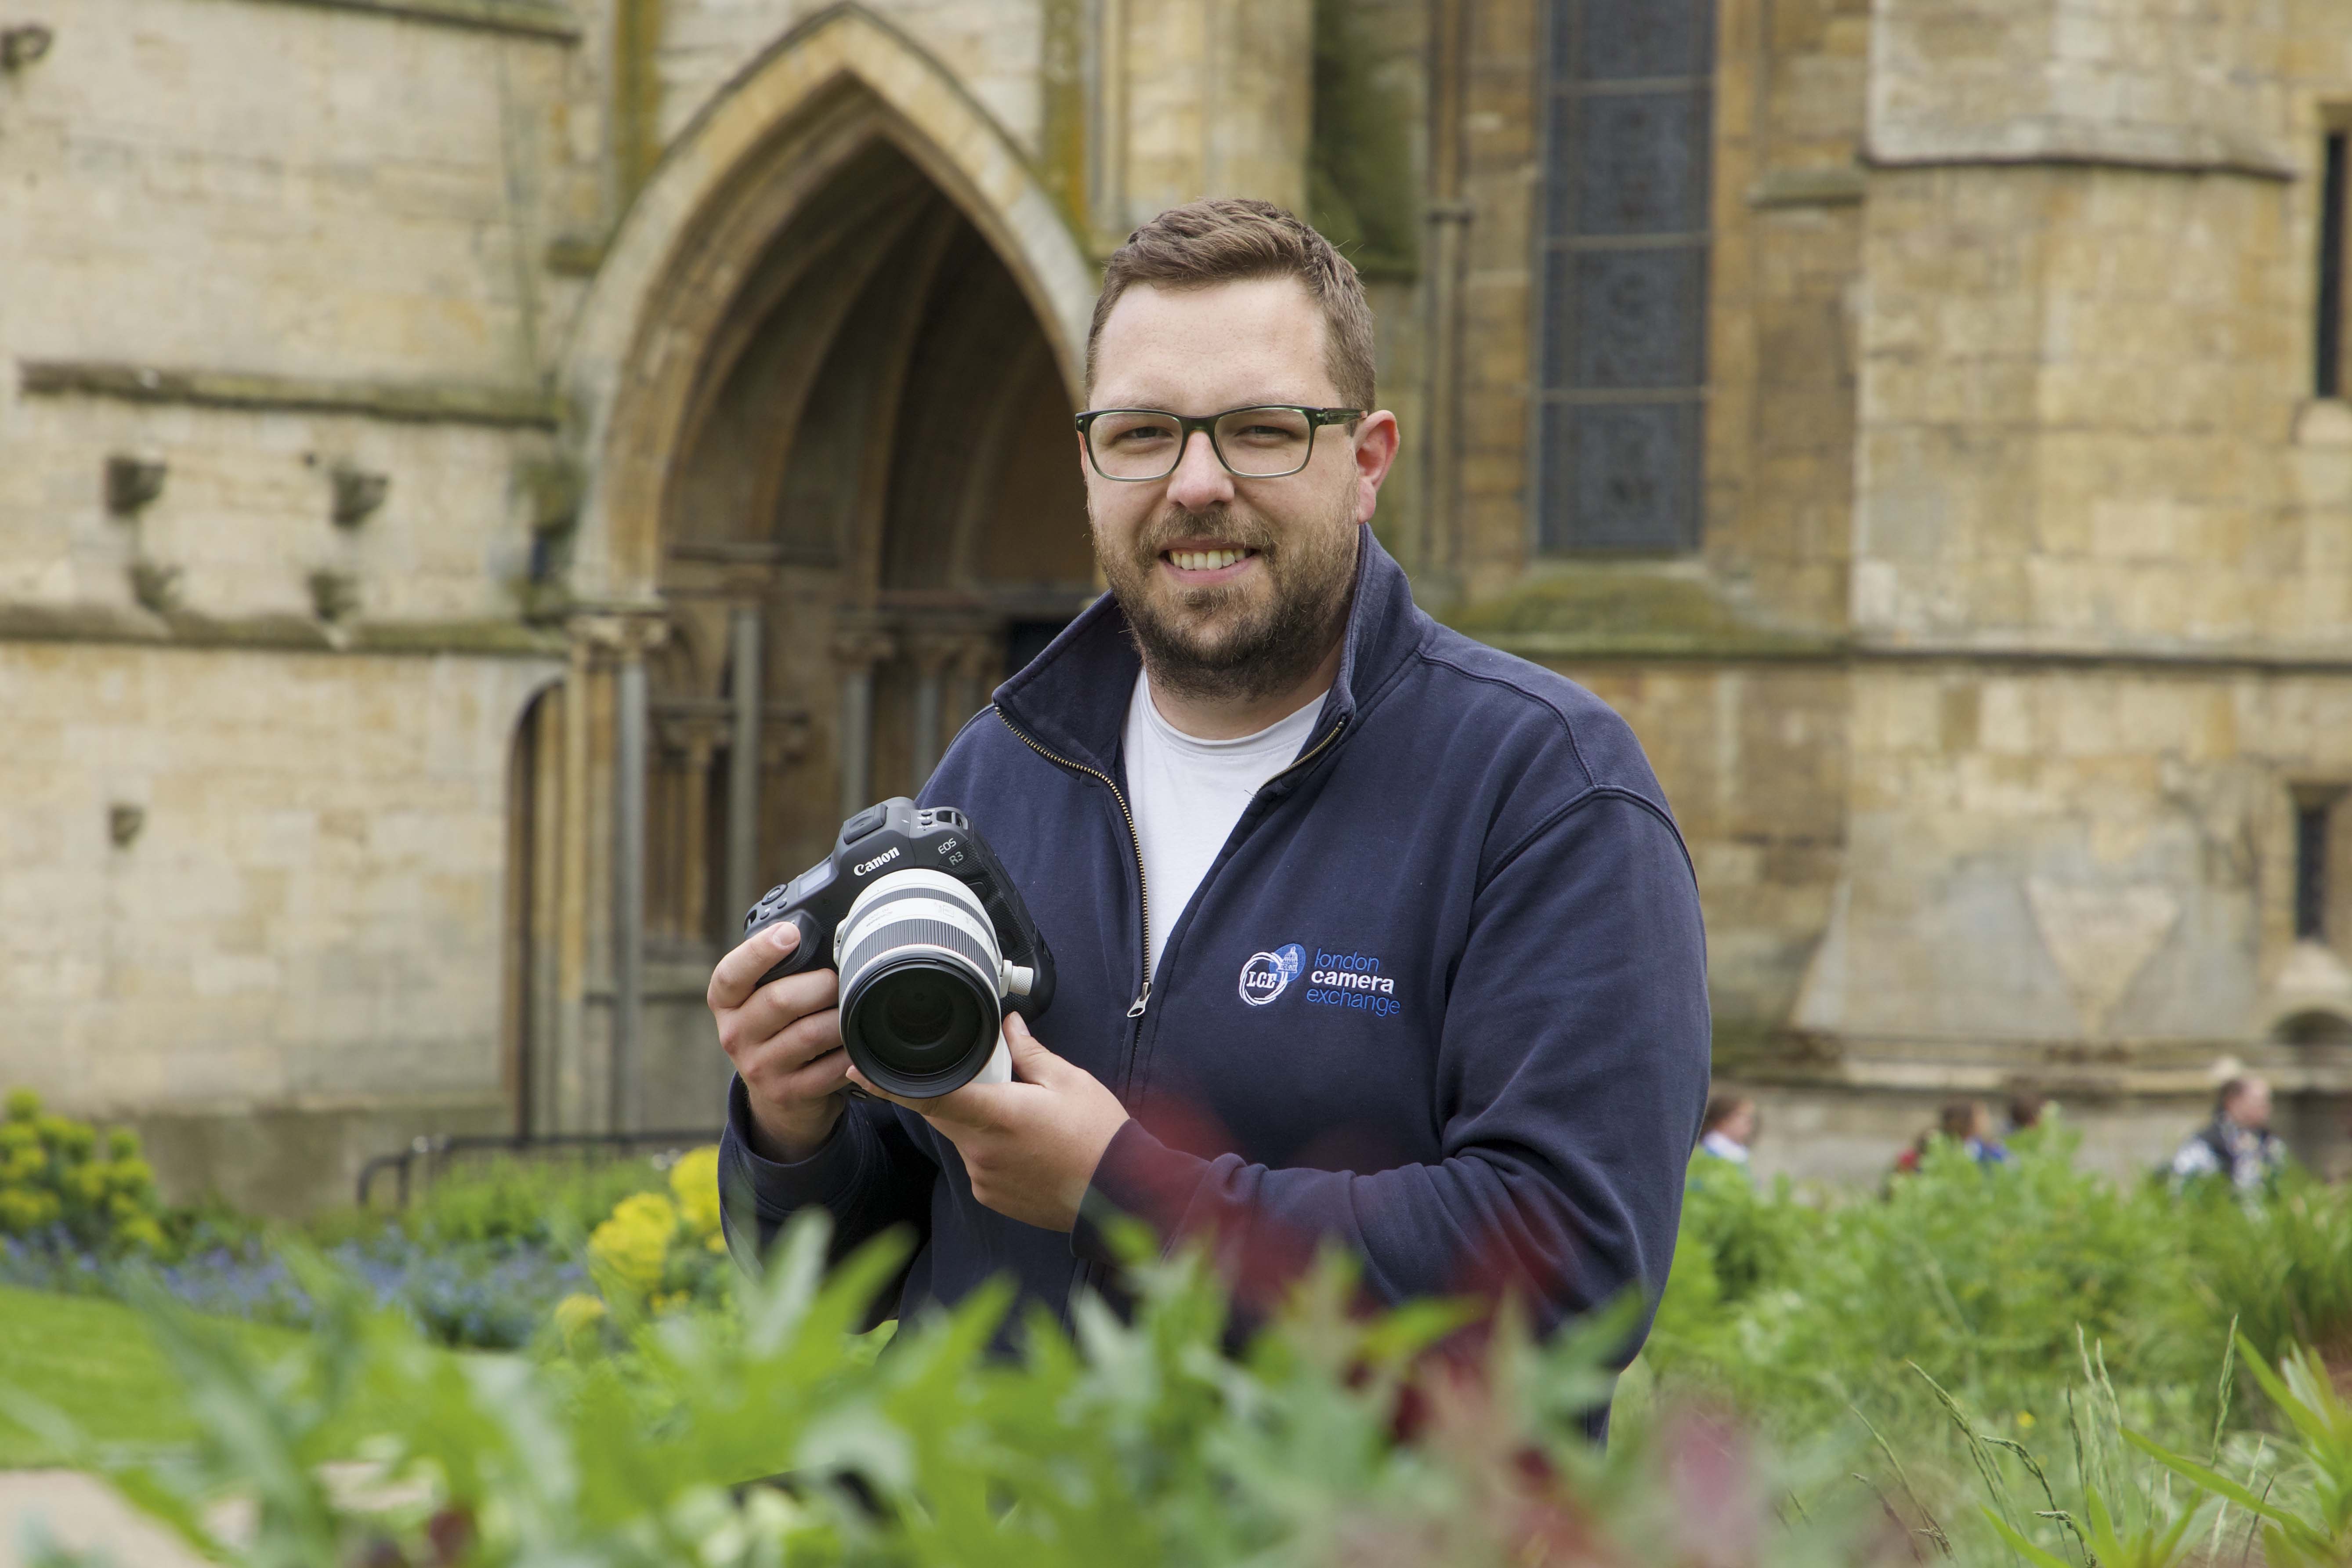
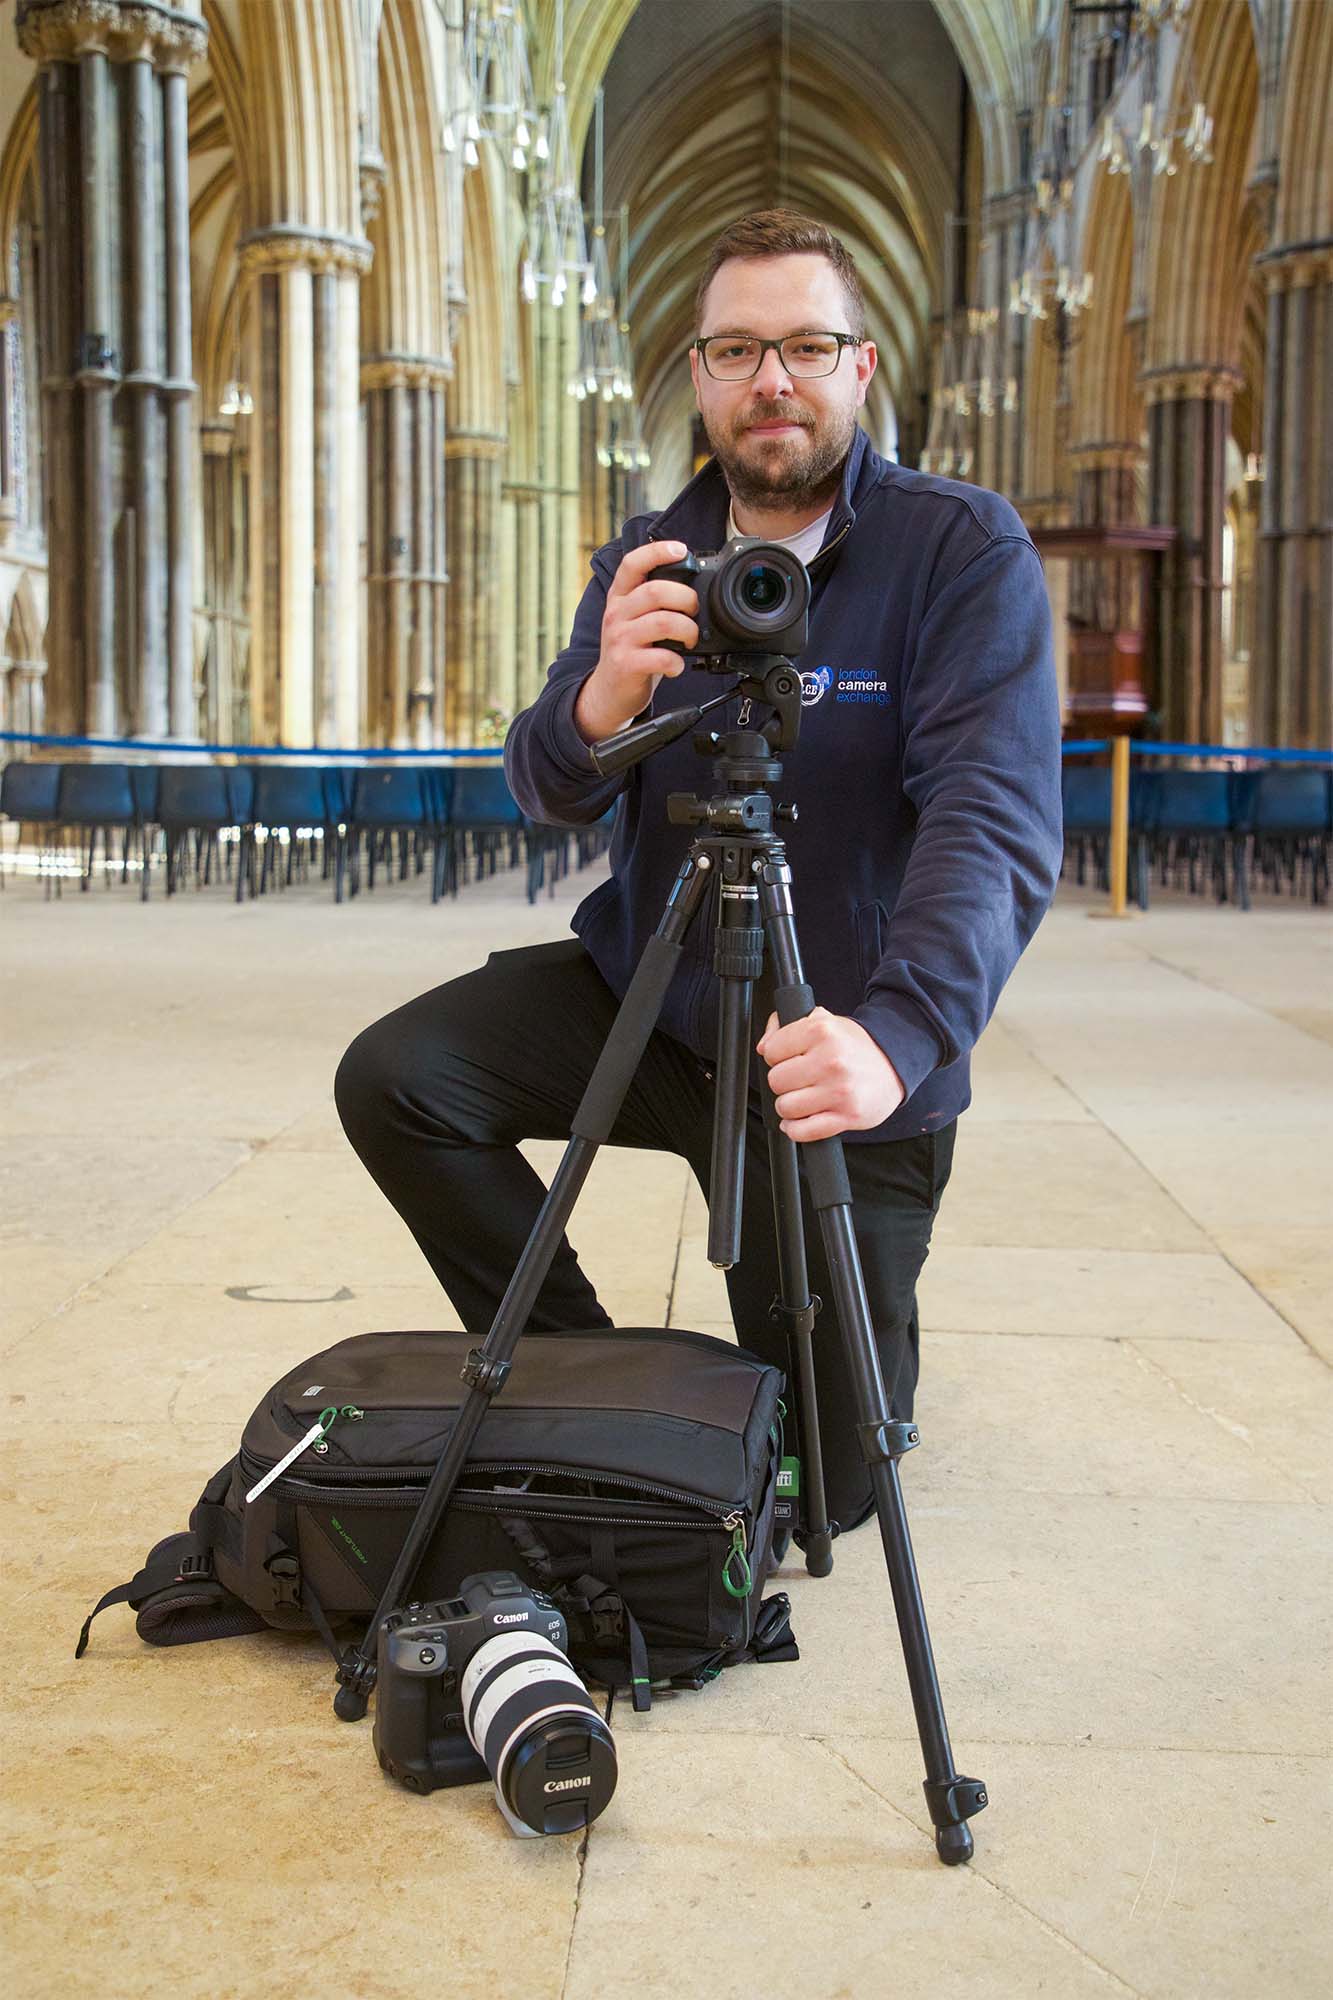
Camera conundrums addressed, just in time for summer photography! Jamie Scott of London Camera Exchange on Lincoln’s Silver Street explains how to take amazing photographs…
Now that Summer’s here, chances are you’ll be venturing out, enjoying Lincolnshire’s stately homes and visiting our local landmarks, enjoying the East Coast or visiting an NGS open garden. It’s likely, too, that you’ll have at the very least a mobile phone in your pocket, equipped with a half-decent camera. However decent the camera though, and irrespective of how many megapixels the manufacturer wants to boast about, a camera phone will only get you so far on your photographic journey.
Taking really amazing photos relies on both good equipment, but also knowing how to make the most of the camera you’ve invested in. That’s why we’ve asked our friends at London Camera Exchange for their help getting the most out of your photography, and for their recommendations for cameras and accessories to enable you to graduate from taking pictures on your phone to using a dedicated camera. Here, LCE’s Jamie Scott addresses your common camera problems to ensure your summer photography is a success!
Q Why are some of the images I take too dark or too light and how can I control their exposure?
A From the earliest days of photography to the 21st century’s range-topping cameras, taking a photo simply amounts to exposing a sensor (previously you’d be exposing film) to light. Pressing the shutter button simply opens a window between the camera and the outside world. Even if you’re professional photographer, the three controls you have over that deceptively simple act are controlling the amount of time that the window is open, how wide the window opens and how sensitive the camera is to light. Leaving the shutter open for a longer duration allows more light though, but the longer the shutter is open, the easier it is to shake or move the camera mid-exposure. You can hand-hold a camera down to about one sixtieth of a second. If you need more light, it’s time to introduce flash or a tripod. If you can’t leave your shutter open for a sufficiently long exposure to let enough light in, you can open the shutter wider. The most amount of light will come from a low aperture value (e.g.: f2.8, f4) but this will decrease the amount of your photo which is in focus (this is referred to as depth of field). Finally, you can increase the sensitivity of your camera’s exposure to light by increasing the ISO from, say, 100 to 800. Your camera’s shutter priority (Tv) of aperture priority (Av) mode will let you control either one or the other. Manual mode (M) allows you to specify both shutter speed and aperture yourself.
Q How can I stop my pictures from being blurry?
A From what we’ve learned about exposure already, we now know that the most probable cause of a blurry photograph is a shutter speed that’s too slow. Sometimes there’s just not enough natural light around, for instance, indoors or in the evening. In this instance you can use flash to provide a blast of artificial light, or you can mount the camera on a tripod to provide a steady platform for exposures so long it would be impossible to hand a camera still. Some lenses, and modern cameras like the latest ‘mirrorless’ ones have in-body image stabilisation (IBIS), in other words, they actively try to counteract camera shake, which provides an extra margin of safety to prevent blur. Sometimes, of course, the lack of light or a slow shutter speed isn’t the only problem. If you’re taking a photograph using a long lens, camera shake is much more of a problem, both because of the weight of the camera and lens and because a long lens amplifies any slight movement. If you’re on a boat, for example, the motion of the vessel might be enough to introduce movement, and if you’re taking a picture of a fast-moving racing car, a bird in flight or a small child, it could be the subject, rather than the amount of available light, which is the issue. Increase your shutter speed or increase your ISO (e.g.: to 1,600), or use flash to freeze the action.
Q When and how should I use flash and what tips can you offer for using it?
A There’s no doubt that flash is an unavoidable skill to master as part of improving your photography. It’s useful in the following circumstances: When there’s not enough natural light, the use of flash generates a sufficient blast to light to avoid a dark (or completely black) image. The use of fill-in (i.e.: helping out) flash on a sunny day will alleviate shadows so even on a bright sunny day, the use of flash is beneficial. Flash can also help to freeze action and ensure you achieve a faster shutter speed, creating crisp shots especially of a subject in motion. A blast of light directly onto your subject can often be too overbearing. It’s better to bounce flash off a surface (e.g.: a white ceiling) rather than firing it straight at your subject, which is why a proper camera with a separate, directable flash – known as an external flash, even if it’s sitting on top of the camera – is better than your camera phone or camera’s built-in, fixed flash. External flashes are also a much larger more flattering light source and their power can be controlled much more easily.
Q How do I take really good pictures of buildings and Lincolnshire’s local landmarks?
A In the summer months, we can look forward to longer days, sunshine and lots of lovely natural light. The colour of light is different in the morning (when there’s a slight blue tone to light) whilst in the evening the golden hour (about one hour before sunset) gives a lovely warm soft light to landscapes and buildings. Taking pictures of landmarks during the golden hour will give a lovely colour, as long as the building or landmark in question isn’t in shadow. Do your research where possible and work out where the sun will be if you’re seeking to take a particular shot, and never shoot a building in shadow unless you’re trying to achieve a silhouette shot. Try not to just point your camera from a standing position. Crouching or laying down and angling the camera upwards or shooting in upright (portrait) format, and even introducing a slight angle to your shot will all help you to achieve different looks. If there’s lots of light, using a fast shutter, a low ISO and a narrow aperture (e.g.: f16, f20) will give a sharp, crisp image.
Q How can I take really good photographs of animals?
A From your cat or dog to animals at a local wildlife park, or the deer, foxes or other wildlife visiting your garden, taking good pictures of animals can be tricky. A typical camera lens is about 24mm, a wide angle lens with more of the shot in the frame is about 18mm, but nature photography necessitates a lens of anywhere from 100mm to 600mm to ensure you can maintain a distance from an animal without disturbing it. Long lenses mean more risk of camera shake, so lenses with stabilisation are a must. Long lenses, however, will also blur your background, resulting in a more pleasing shot and they can be used to blur the bars of enclosures at wildlife parks and zoos, focusing on an animal in the distance. Because the movement of animals can be erratic, it’s a good idea to work quickly and take lots of shots to achieve the one perfect image. Stay quiet, persist with lots of images taking them with fast shutter speeds and above all, learn to be patient!
Q How can I improve my images when I photograph family and friends this summer?
A There are two types of ‘people’ photographs: posed and candid (i.e.: taken without interfering in the action). Most of the time candid photography is down to luck: take enough photos, cross your fingers and you’ll end up with a shot of your subject looking up, smiling or laughing. There’s something to be said, though, for taking a deliberately posed shot. Position your subject somewhere with good natural light or where a flash will flatter them. Ensure there are no distractions in the background and try to get closer to your subject – many non-professional photographers feel intimidated by the need to get close to their subject. Instead of standing back or zooming out, crop in nice and closely to someone’s head and shoulders, or to waist level for a nice portrait shot, and try not to leave dangling hands by your subject’s side, which will leave them looking like a toy soldier. Folded arms can look a little confrontational, but if your subject can hold something, the position of their hands will often look a little neater. Try your subject standing, sitting or leaning against a tree to introduce variety in your images too. Always look for flattering natural light, and try to vary your shots by asking your subject to look into the camera, or away from the camera and try to arrange groups so that everyone can be seen. Group shots usually look better with taller people in the centre and shorter folk on the outside, creating a nice arc.
Q What are the secrets of taking really good close-up images of food, flowers or objects?
A This type of photography is known as macro or close-up photography. Cameras tend to come with standard lenses of about 24mm whilst dedicated lenses for close-up photograpy tend to have focal lengths of 100mm and enlarge the subject, getting you much closer to insects, flowers or food and enabling you to focus at a closer distance. At such a close range, keeping the camera very still and accurate focusing are really important, so tripods, remote shutter releases and other accessories are a must. London Camera Exchange will offer really good product recommendations and ensure that the phrase ‘it’s a small world’ has never been more apt!
Q I’d love to take pictures of birds at my nature reserve, what do I need to know and what equipment might I need?
A Capturing birds in flight, or whilst a wader bird is perched on a bit of marshland, or even just a garden bird enjoying its breakfast is one of the most rewarding and challenging photographic adventures you’ll embark upon. There are many different types of zoom lens with different features, at many different price points. A 70mm-200mm is a good starter lens, whilst keen photographers should consider a brand like Sigma, whose 150mm-600mm lenses range from around £850 and feature stabilisation – essential when shooting at vast focal lengths or capturing birds in motion. Fast shutter speeds are a must, and as a rule of thumb, should be twice the focal length you’re shooting at. So, for example, if you’ve zoomed right in with a 200mm lens, you should be ensure a shutter speed of at least 1/400. A monopod is a good piece of kit for bird photography, as are waterproof kit bags, and a pair of binoculars, all of which are available from London Camera Exchange.
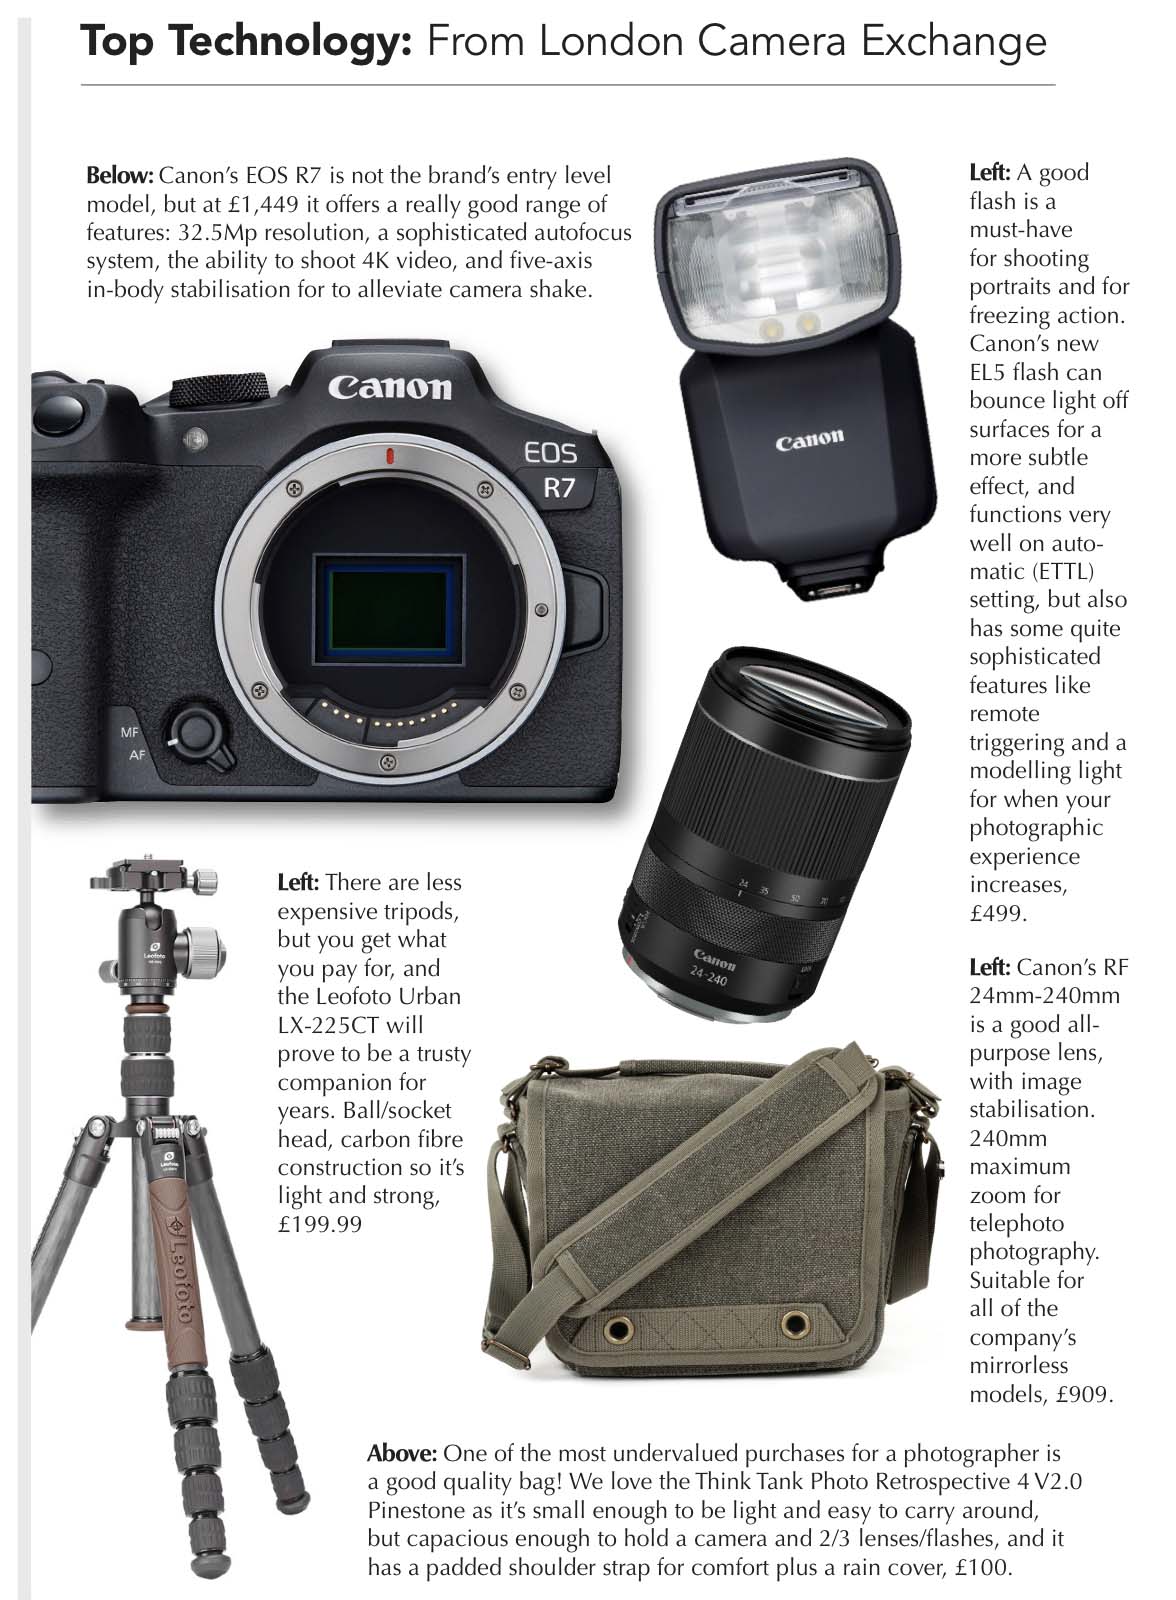
Find Out More: London Camera Exchange on Silver Street, Lincoln LN2 1DY provides Canon, Nikon, Sony and OM-System cameras and accessories. Advice is free and friendly, for either novice photographers or photo professionals. The retailer also sells new and pre-loved gear including tripods, telescopes and binoculars. Call 01522 514131, see www.lcegroup.co.uk. The store is open Monday to Saturday from 9am-5pm.